Programmer Setup

Building the Circuit
The first thing I did was figure out how to use my programmer with the Atmega 8 Microcontroller.  I'm using a SainSmart USB Programmer. The pinout of the Atmega 8 µC can be found here, the pinout of the programmer can be found here.  I used a multimeter to test the continuity of the programmer's cable to match up the pins properly.  I built the circuit shown below on a breadboard.  The LED array on the right is connected to 5 output pins.  When the circuit is connected to a PC via USB the programmer will provide 5V to the circuit, so there is no need for a separate power source.

Pins 7 and 8 of the µC are connected to VCC and GND respectively.  I'm not sure why they aren't shown on the µC object.
The green and orange wires in the bottom left are for an external power source.  The yellow LED indicates that the circuit is powered.


Testing the Programmer
I used AVRDUDE on Ubuntu to program the µC. While it is available on Windows, it must be run from the command line and the user must find and install the appropriate driver. No driver was necessary while running Ubuntu, so I used the opportunity to become more familiar with the OS.  Note that if you are running a virtual machine version of Linux, make sure the VM has access to USB devices, otherwise avrdude will complain about not being able to find the programmer.

Due to Ubuntu permission settings that I do not understand, I had to prefix all of the following commands with "sudo".  This allows avrdude to run with administrator rights.

The first step is to test if avrdude is able to connect to the µC.  Plug in the USB cable and type "avrdude" into the command line to see a list of options.  Next, determine the type of your programmer.  Typing "avrdude -c asdf" will display a list of programmers.  The Sainsmart programmer is a "usbasp" programmer.  Next, specify the type of microcontroller you are using. Typing "avrdude -p asdf" will display the list of microcontrollers avrdude supports.

Typing "avrdude -c usbasp -p m8" will display the following if avrdude is able to connect to the µC.  If you get an error, check the connections between the programmer and the µC.  Otherwise we are ready to load the program.


Coding
The Atmega8 supports C, so if you know what a for loop is you're ready to start writing and running code.  The code for this project can be seen below.  This code sets the B pins to input mode and C pins to output mode.  When Pin B1 is high, the controller counts from 0-15 in a loop and displays the binary number on the LEDs connected to the C pins.

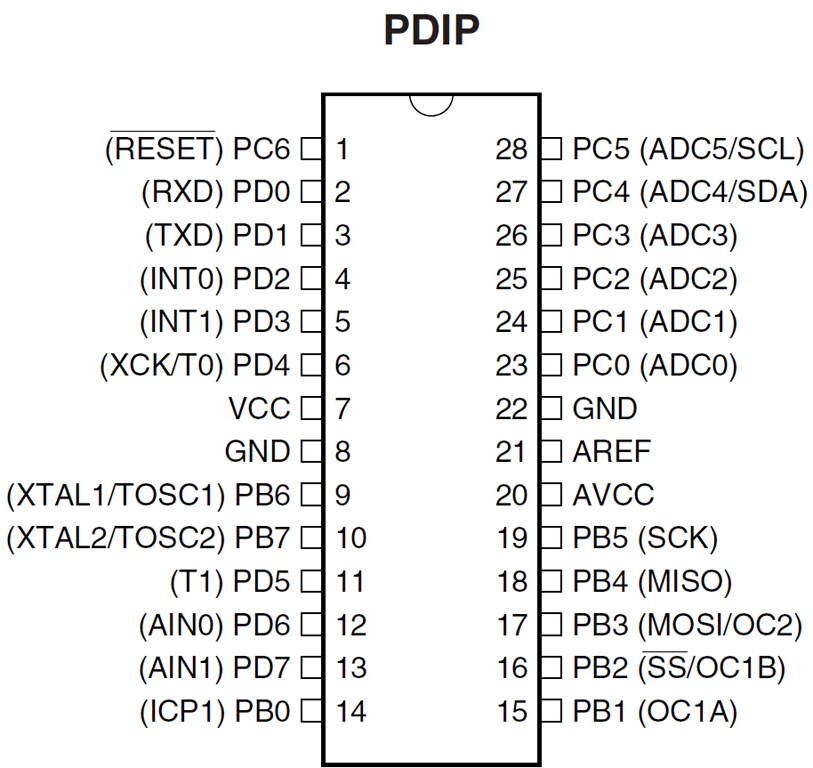
For now, the only difference between beginner C programs and µC programs are the inputs and outputs. You're probably used to using printf or cout to display output and scanf or cin to take input.  Here, our inputs and outputs are high/low states of pins being watched or set.  For example, the line of code to turn on an LED connected to PB0 is "PINB = 0x01".  Note that this will set B 1-5 to low.  AVR C supports logic expressions.  To toggle the state of PB0, type "PINB ^= 0x01" (^= is the XOR function).


Programming
Once your code is complete, it needs to be compiled into code that the µC can actually run.  From a command line, navigate to the directory containing your code and run the following commands.  I'm unfamiliar with what each one does, but the end result is a .hex file that can be uploaded to the µC.


We're now ready to load the code onto the µC.  Use the following command:

sudo avrdude -c USBasp -p atmega8 -U flash:w:hello.hex:i

You should see the following in the command window:


The µC will begin executing the code immediately!


0 comments:

Post a Comment